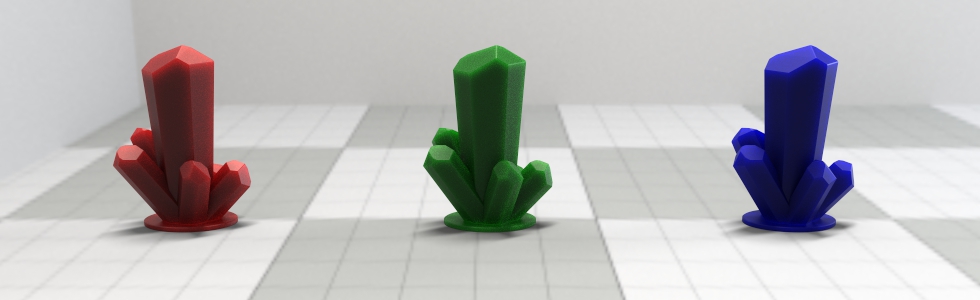
Continuing our series of articles on using the server-side V8 API we will now add some objects, loaded from a model file to the scene that we setup and lit in our previous articles. This one is going to be very simple but for bonus points we’ll add multiple copies of the object in different locations.
Before starting, if you haven’t already read our posts on Creating an Empty Scene with Server-side V8 and Environment Lighting with Server-Side V8 please head over and read those articles now as we will build on what we created there for this one.
A really common question from first time RealityServer users is how to load up a model (for example a piece of furniture) and then insert it into a scene and position it, or multiple copies of it in different locations. So let’s build a V8 command that does exactly that.
We’ll need some extra helper classes for this command. Scene is still needed like before as we want to add our objects to a specified scene but we will also need two more, Group and Instance.
const Scene = require('Scene');
const Group = require('Group');
const Instance = require('Instance');
As usual, let’s start with the command definition and decide what parameters we need.
module.exports.command = {
    name: 'tutorial_add_objects',
    description: 'Adds an object to an existing scene.',
    groups: ['tutorial', 'javascript'],
    arguments: {
        scene_name: {
            description: 'The name of the existing scene to add the sun and sky lighting to.',
            type: 'String'
        },
        filename: {
            description: 'The filename of the object to be loaded and inserted in the scene.',
            type: 'String'
        },
        options: {
            description: 'Importer options to use when loading the file.',
            type: 'Map',
            default: {}
        },
        positions: {
            description: 'Locations at which to insert the objects in the scene.',
            type: 'Array',
            default: [ { x: 0.0, y: 0.0, z: 0.0 } ]
        }
    }
};
The scene_name is needed to retrieve the existing scene. The filename is the name of the file on disk to load. In our test example JSON-RPC later we’ll load a .mi file but this could also point to a .obj, .gltf, .fbx or any other format supported by RealityServer. We also have an options parameter in case you want to pass import_options into the import call (for example to suppress automatic generation of lights and daylight in the OBJ importer).
The final parameter, positions, is going to be an array, in this case an array of objects representing position vectors at which we want to place the objects. We’ll end up with the number of objects specified in this array. As a default we just put one copy of the object at the origin.
Similar to the previous articles we will first fetch the requested scene. In this case though, instead of fetching the options from the scene, which we don’t need, we are going to fetch the root group as a Group object.
module.exports.command = {
    ...
    execute: function({scene_name, filename, options, positions}) {
        // Fetch the existing scene data and its root group to work with
        const scene = new Scene(scene_name);
        const rootgroup = scene.root_group;
        ...
    }
};
The root group is needed later so that we can attach instances of our imported object to the scene. Adding an object to the scenes root group is what causes it to be rendered. Actually importing the object is easy using the static import_elements method on the Scene object.
const import_result = Scene.import_elements(filename, { import_options: options });
We store the result of this call since that will contain the name of the root group element in the imported data. This is how we can place the contents of the imported file without knowing anything about the names of the objects inside it. Of course if you do know the names of the elements you can work with those specifically rather than the root group. Let’s fetch the existing object root group into a Group object.
let object_group = new Group(import_result.rootgroup);
The result of the import had a rootgroup property which tells us the name of the root group element. We now want to take the number of positions that were specified and create an instance of the objects root group at each of these positions. For that we will use a simple for loop.
for (let i = 0; i < positions.length; i++) {
    let transform = new RS.Math.Matrix4x4();
    transform.set_translation(-positions[i].x, -positions[i].y, -positions[i].z);

    let object_inst = new Instance(`${object_group.name}_inst_${i}`, true);
    object_inst.item = object_group;
    object_inst.matrix = transform;

    rootgroup.attach(object_inst);
}
There are quite a few new concepts introduced here. For each object we create a transform matrix which uses one of our V8 math classes RS.Math.Matrix4x4. This has various methods to help with using matrices but in this case we will just use the set_translation method to set the elements of the matrix needed to move the object into position. Note that we invert the components of the position since transform matrices in RealityServer are inverse affine transforms. Of course, to be really useful this command would likely need to be extended to also rotate and potentially scale the object which are also possible.
Once the matrix is computed we can create a new instance, using the name of our root group and the index in our array to build up a suitable name. Remember the second parameter of the scene element constructors are set to true when you want to create a new element instead of loading an existing one. After we have the instance we set its item to refer to the root group of the imported object and its matrix to the transformation matrix we just made.
As a final step we must actually attach the instance to the root group of the scene in order for it to render. We use the attach method of the Group object for this. While you can also attach groups to groups as well as instances to groups, in this case since we want to add a transformation matrix to the object we must first instance it since groups themselves do not have transformations.
Here is a quick JSON-RPC command sequence which uses this command and those we have made in previous articles to generate a simple layout of objects and render them.
[
    {"jsonrpc": "2.0", "method": "create_scope", "params": {
        "scope_name": "tutorial_scope"
    }, "id": 1},
    {"jsonrpc": "2.0", "method": "use_scope", "params": {
        "scope_name": "tutorial_scope"
    }, "id": 2},
    {"jsonrpc": "2.0", "method": "tutorial_create_empty_scene", "params": {
        "scene_name": "tutorial_scene"
    }, "id": 3},
    {"jsonrpc": "2.0", "method": "camera_set_resolution", "params": {
        "camera_name": "tutorial_scene_cam",
        "resolution": { "x": 440, "y": 440 }
    }, "id": 4},
    {"jsonrpc": "2.0", "method": "tutorial_add_hdri", "params": {
        "scene_name": "tutorial_scene",
        "hdri_filename": "studio_grid.exr"
    }, "id": 5},
    {"jsonrpc": "2.0", "method": "tutorial_add_objects", "params": {
        "scene_name": "tutorial_scene",
        "filename": "scenes/crystal.mi",
        "positions": [
            { "x": 0.1, "y": -0.1, "z": -0.5 },
            { "x": -0.1, "y": -0.1, "z": -0.5 }
        ]
    }, "id": 6},
    {"jsonrpc": "2.0", "method": "render", "params": {
        "scene_name": "tutorial_scene"
    }, "id": 4},
    {"jsonrpc": "2.0", "method": "delete_scope", "params": {
        "scope_name": "tutorial_scope"
    }, "id": 5}
]
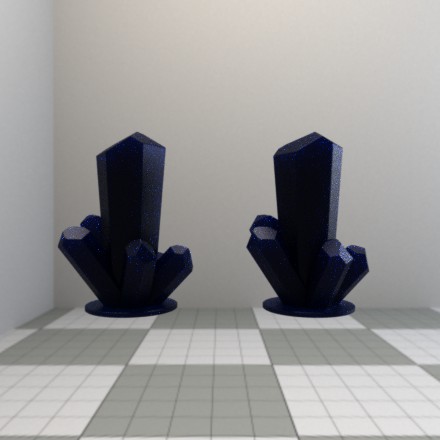
If all goes well you should get something like the result on the right. This looks quite dark and has some other issues we will correct in our next post on setting up camera and environment dome parameters.
While this command is very simple, it introduces some concepts you will find yourself using over and over. In particular creating an instance of some type of element (whether it is an object, a light or something more exotic like a section plane) with transformation information and adding that to the scene root group so that it is used by the renderer.
You can take this a lot further by also changing materials on the instance and overriding those in the file or if you know something about the structure of the data in the files, reaching into the imported data and making further changes.
In this post we learned how to load up 3D data from disk and insert it into the scene using a server-side V8 command. As part of that process you’ve also seen how the basic structure of a scene works. As always, if you are having any trouble getting going please contact us. You can download the full source for the commands used in this article below.
Paul Arden has worked in the Computer Graphics industry for over 20 years, co-founding the architectural visualisation practice Luminova out of university before moving to mental images and NVIDIA to manage the Cloud-based rendering solution, RealityServer, now managed by migenius where Paul serves as CEO.